


 FREE SHIPPING ORDER OVER $250.00
  30+ YEARS OF PROVEN SUCCESS
  FIX ROOF LEAKS, ONLY ONCE!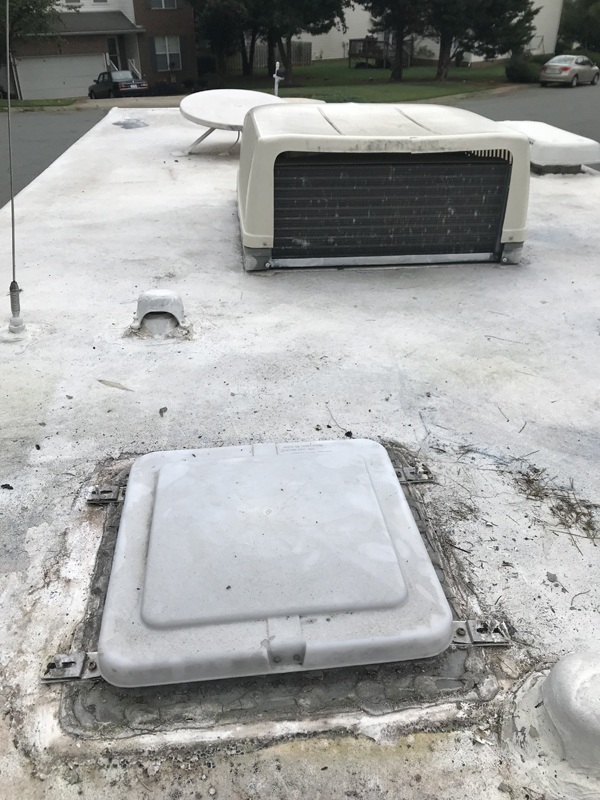
RV Roof Coatings: Benefits and How to Use
Using RV roof coatings for your RV’s roof benefits your RV in a wide variety of ways. No one wants to deal with roof damage, and no one especially wants to deal with constantly having to repair roof damage; so finding quality roof coatings is essential to maintaining a proper RV.
Benefits of RV Roof Coatings
Using roof coatings like RV Roof Magic benefits both you and your RV. First of all, a quality RV roof coating benefits you because it’s quick and easy to use.
For example, RV Roof Magic requires only one coat of application. There’s never any need for applying a second coat and no primer is needed before you apply the coating. This saves you a lot of time and also keeps some extra cash in your pocket since you don’t have to spend on extra supplies.
And to save even more cash, a quality roof coating for your RV shouldn’t require any extra components for its use. The roof coating should be able to be used without having to add any mixers or making any precise measurements.
In addition to that, high-quality roof coatings benefit your RV because they provide proper protection against UV rays from the sun that can crack and dry out the material on your RV’s exterior, particularly the roof. Also, the coating offers an extra layer of protection against any harmful or hazardous debris and objects.
Roof coatings offer RV’s a highly durable and flexible material membrane. This durable, flexible membrane allows you not to worry about seams ever again.
There’s really nothing you can do when you’re hauling your RV down the highway and a piece of debris comes flying towards you. The best you can do is have the peace of mind knowing that a quality coating is protecting your RV’s roof. And if you find any damages after inspecting where the debris hit, you can slap on more coating or use a quality roof sealant to fix the damages.
How to Use Roof Coatings for Your RV
Applying a roof coating to your RV’s roof shouldn’t be an extremely difficult process. The best roof coatings allow you to quickly and conveniently apply them to your RV.
Before applying the roof coating to your RV’s roof, look for minor cracks and splits in the seams of the roof. Use a tube of roof sealant to seal these minor cracks and splits. Also, check around any joints, AC’s, and vents for loose caulking or for areas that may need some more caulk work.
Next, you need to clean your roof. If you have a power washer, that’s the most convenient and efficient way to clean the roof of your RV. A light power wash is all you need to clean the roof. If you do not have a power washer, the best alternative method is to use a good bristle brush.
Use TSP or a quality degreaser to wash your roof and remove any oily residue that may interfere with the roof coating application.
Once your roof is clean and free from any residue, you can apply your roof coating with a medium nap roller. Paint brushes can also be used for precise application of the roof coating in specific corners and on vertical surfaces.
Be sure to only apply coatings to your RV while you are outdoors. If you do choose to apply the coating indoors, then you will need some type of respirator mask to provide you with proper respiration. Also, the indoor space will need to be ventilated and aired-out after applying the coating to the RV.